• 120 3rd Ave Unit 1, Neptune City, NJ 07753
‹ Playa Bowls Equipment Information Portal
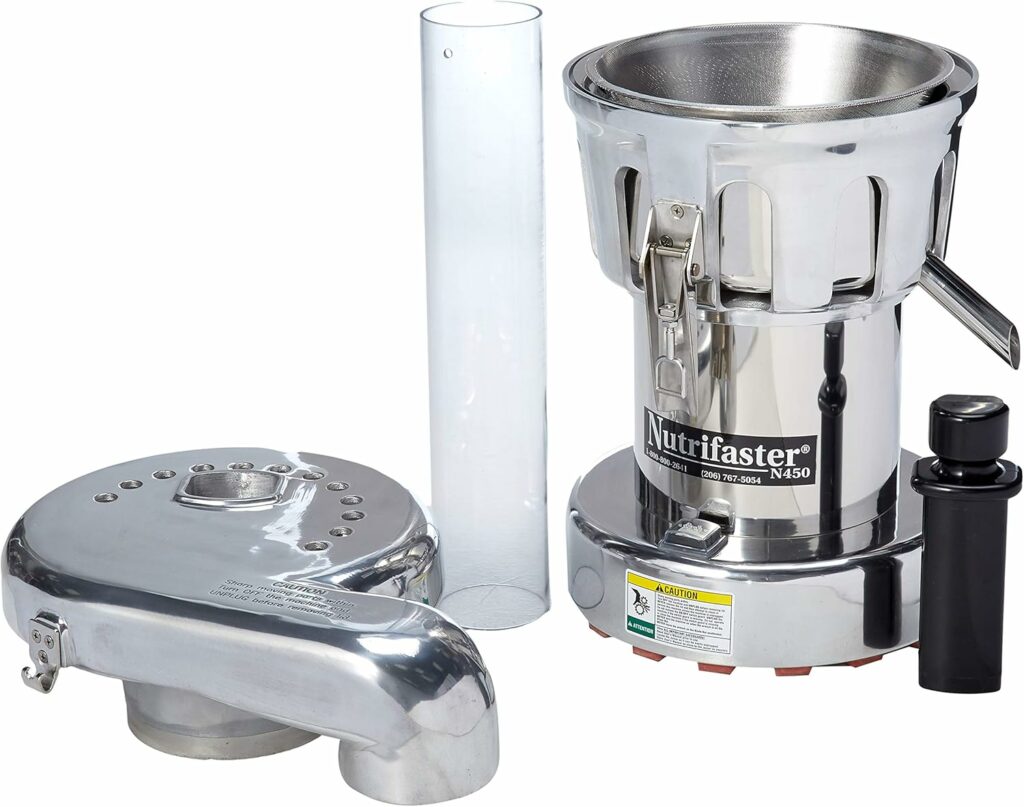
Nutrifaster Juicer
Juicer

Nutrifaster Juicer

Model / SKU
EQ-N450
01Warranty
  • One (1) Year Parts
  • 90 Days Labor
02Documents
03Maintenance schedule
Daily
  • DAILY SANITIZING PROCEDURE (Carried out at the Start of Each Day)
  • *BE SURE TO WEAR VINYL GLOVES, AS USED FOR FOOD HANDLING, DURING THIS OPERATION.*
 
  1. ALWAYS TURN OFF AND UNPLUG YOUR JUICER BEFORE SANITIZING.
  2. Prepare sanitizing solution. If your are using a liquid sanitizing solution follow the directions on the bottle.
  3. Assemble the machine, leaving the top off. Make sure the blade nut is hand tightened the given a 1⁄4 turn with the wrench.
  4. Wrap a dishtowel around the base to cover the Power Switch and Power Cord. Set waste container under the juice pan spout. Spray approximately 1 pint of the sanitizing solution around the perimeter of the basket screen, inside the basket screen, and onto the cutter plate and blade nut. Once done, remove the dishtowel and thoroughly dry the base.
  5. Thoroughly clean latch assembly, with particular attention to the adjustment thread.
  6. Replace the Top. Lock latches. You should hear an audible SNAP sound when properly adjusted. (See page 10 in Manual)
  7. Insert the Pulp Tube into the pulp spout of the lid.
  8. With receptacles under the juice spout and pulp tube, spray 1 quart of sanitizing solution down the feed chute while the juicer is running. Follow by rinsing the sanitizing solution from the juicer by spraying one quart of clean water into the feed chute while the motor is running. Allow the juice pan to drain. Dispose of the waste solution.
  9. Clean the Pusher with sanitizing solution and rinse thoroughly.
  10. Test Before Use. Before use, check to make sure all the parts are in proper alignment. Plug your juicer into an electrical outlet and test before use. The juicer is now ready for operation.
 
  • MAINTENANCE CLEANING (During the Day)
  • If you are using the juicer intermittently, pulp residue may collect and dry on the basket. This may cause vibration during use. To prevent this vibration, remove the basket after more than one half-hour of idle time, scrub the basket with hot soapy water and rinse it under hot water. Before reassembling, make sure all holes are free of any pulp residue.
Nightly
  • NIGHTLY CLEANING WITH A DISHWASHER
  • All juicing parts (cutter plate, blade nut, juice pan, basket, pusher, and wrench) may be cleaned in the dishwasher. Scrub the basket to remove any loose pulp and ensure the holes are not plugged before putting the parts through the dishwasher.
 
  • NIGHTLY CLEANING WITH “CLEAN CUT” CLEANING PRODUCT (strongly recommended)
  • “Clean Cut” was specifically formulated to remove fruit pectin residue from stainless steel juicing components. It is blended with all natural Earth products and biodegradable elements to provide you with the most effective and the most earth friendly cleaner possible. The elements in this formula are designed to blend into water and physically attack and remove the stains and residues, allowing them to be rinsed and flushed away. 
  • “Clean Cut” is biodegradable, odorless, non-flammable and contains no toxic chemicals subject to the reporting requirements of Section 313 of the Emergency Planning and Community Right-to-know Act of 1986 and of 40 CFR 372.
 
  1. Mix 1/2 cup Clean Cut powder in a plastic bucket large enough to hold the juice pan with enough hot water to dissolve it.
  2. Put the cutter plate, blade nut, and pusher in the bottom of the bucket.
  3. Scrub the basket to remove any loose pulp and ensure that the holes in the basket are not plugged. Place it (upside-down) over the cutter plate.
  4. Place the juice pan (upside-down) over the basket.
  5. Add enough hot water to cover the parts by two inches. Let the parts soak overnight.
  6. In the morning, remove the parts from the solution, scrub the basket to remove any remaining pulp or stains. Rinse basket thoroughly.
  7. Clean the juice pan thoroughly to remove all stains. Use a bottlebrush to clean the juice pan spout. Rinse thoroughly.
  8. Use a scrub brush to clean the cutter plate. Rinse thoroughly.
  9. Thoroughly clean latch assembly, with particular attention to the adjustment thread.
  10. Assemble machine as instructed on page 6.
  • (Clean Cut is available through Nutrifaster, Inc. only. Please feel free to call with any questions regarding this product.)